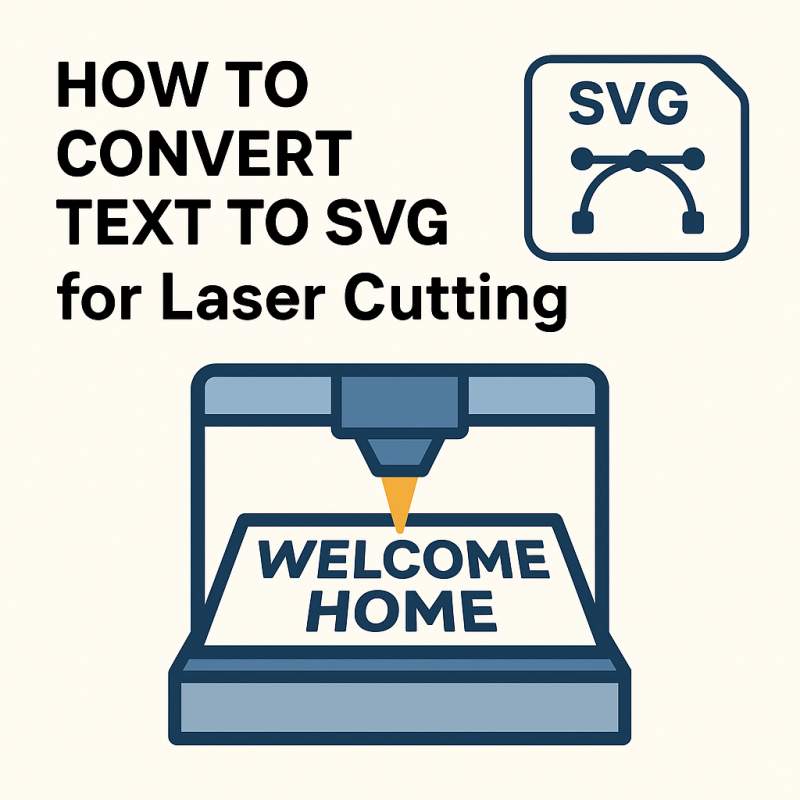
What Is an SVG and Why You Need It for Laser Cutting
SVG (Scalable Vector Graphics) is a vector file format — instead of storing pixels, it stores mathematical paths (lines and curves).
- You can scale it to any size without losing quality.
- Laser cutters and CNC machines can follow these paths precisely.
- You can control stroke thickness, fill, joins, and kerning — all crucial for clean cuts.
When you type text in Word or Illustrator, the letters are font glyphs, not physical paths. Laser software can’t “see” them correctly until they’re converted to outlines — that’s where a tool like text-to-svg.com comes in.
Step 1: Type Your Text
Go to our text to svg conversion service and type any text you want to convert.
Step 2: Choose a Font
Click the font selector and pick any available typeface.
For laser cutting, bold sans-serif fonts work best because they have thicker lines and no fragile serifs.
Recommended:
- Montserrat
- Arial Black
- Impact
- Roboto Bold
Avoid very thin script fonts — the paths can burn or break during cutting.
Step 3: Convert to SVG Paths
Once you’re happy with your text, download the resulting SVG file.
Now your text is no longer a “font” - it’s pure vector geometry, ready for any cutter.
Step 4: Optimize for Laser Cutting
Laser cutters prefer simple paths with minimal nodes. Use the “Simplify path” option on your converter before downloading — this removes redundant points and keeps curves smooth.
| Task | Why it matters | How to do it |
|---|---|---|
| Join overlapping letters | Prevents double cuts | Use “Merge paths” / boolean union |
| Set fill = none, stroke = black | Easier for laser software to interpret cut lines | Export settings / open SVG and set fill="none", stroke="#000" |
| Check scale (mm/in) | Avoids too small/large text | Use a preview ruler or your laser software units |
| Test a small sample | Ensures kerf compensation and readability | Cut on scrap material first |
O, P, A, R), consider creating small "bridges" for stencil-style pieces so inner parts don't fall out.Step 5: Import into Your Laser Software
Most cutting tools (Glowforge, LightBurn, xTool, Cricut Design Space, etc.) accept standard SVG files. Import your SVG and position it on the workspace.
Common import settings:
- Unit: mm or inch (be consistent with your design)
- Stroke width: 0.01–0.1 mm
- Color mapping: black for cuts, red for engraves
Common Problems and Fixes
| Problem | Cause | Solution |
|---|---|---|
| Text doesn’t appear in laser software | Still a font, not paths | Re-export as “outlined paths” |
| Jagged edges when cutting | Too many path nodes | Simplify path before export |
| Letters cutting twice | Overlapping paths | Use “Merge / Union” option |
| Kerning looks off | Font rendering issue | Adjust spacing before conversion |
Advanced: Create SVG Text Effects Before Cutting
You can also generate decorative text effects that still work for cutting:
- Outlined text (double stroke)
- Shadow text (offset path)
- Stencil text (bridge letters for interior spaces)
Explore ready-made effects on Text-to-SVG Effects.
Bonus: Batch Conversion for Production
If you’re making multiple nameplates or signs, use bulk mode — upload a CSV with names and get a ZIP of all SVGs. Perfect for engraving 50+ labels or personalized gifts in one go.
Try it here → Bulk Text to SVG Generator
Recommended Settings for Popular Machines
| Machine | Recommended Font Weight | Kerf Adjustment | Export Format |
|---|---|---|---|
| Glowforge | Medium–Bold | 0.1 mm | SVG |
| xTool P2 | Medium | 0.05 mm | SVG |
| Cricut Maker | Bold | None | SVG (cut file) |
| LightBurn (CO₂ laser) | Bold | 0.15 mm | SVG optimized |
Summary: Why Text-to-SVG Is the Best Way to Prepare Text for Laser Cutting
| Benefit | Description |
|---|---|
| Instant conversion | No design software needed |
| Clean paths | Perfect for cutting and engraving |
| Font flexibility | Works with any TTF/OTF or Google Font |
| Optimized output | Minimal nodes, correct kerning |
| Free and browser-based | No install, no signup |